If you want to create a website or app but without code bubble ai is gonna crazy tool for you. A no-code tool that enables everyone to create web apps, marketplaces, SaaS products, and more without needing to learn how to code.
In this article, we will discuss in detail about Bubble.io and also discuss how you can use Bubble to create your web application , step by step.
What is Bubble.io?
Bubble.io is a visual web development tool. So instead of programming, you drag and drop elements (text, buttons, forms) to the page.
You can build out workflows, set up a database and connect APIs, without writing a single line of code.
It is mostly used to build:
- Web apps
- Marketplaces
- SaaS products
- Internal tools
- MVP (Minimum Viable Products)
Step-by-Step Guide to Using Bubble.io
Step 1: Create an Account
Go to bubble ai and create yourself a free account. Login with your email or with Google After successfully creation of account, you will land on the dashboard.
Step 2: Start a New Project
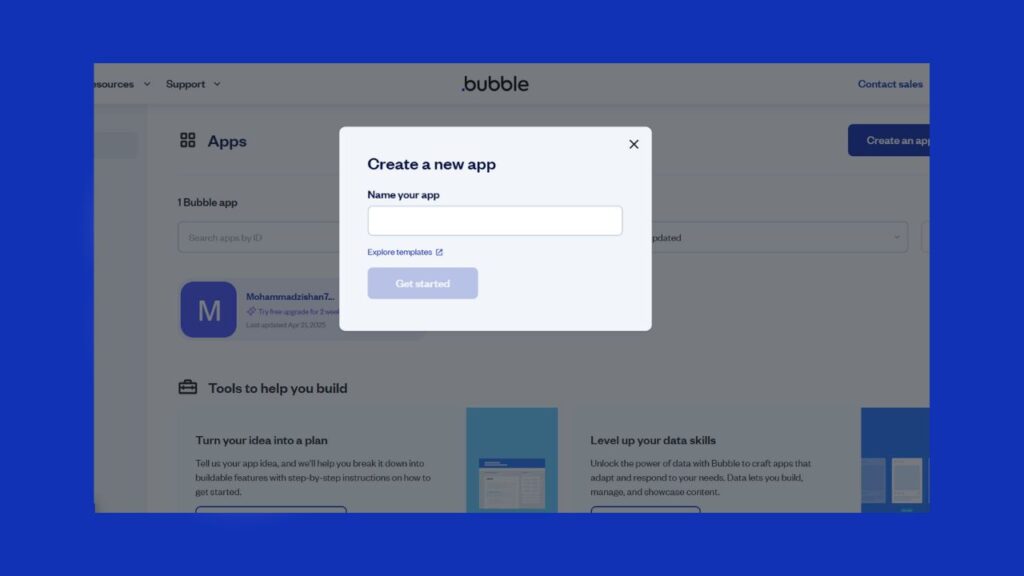
Now, click on New App on the dashboard. You can input the name of your app, select the app type, and select its plan. You can use the free plan to begin.
From here, Bubble will direct you to the editor to begin constructing your app.
Step 3: Understand the Bubble Editor
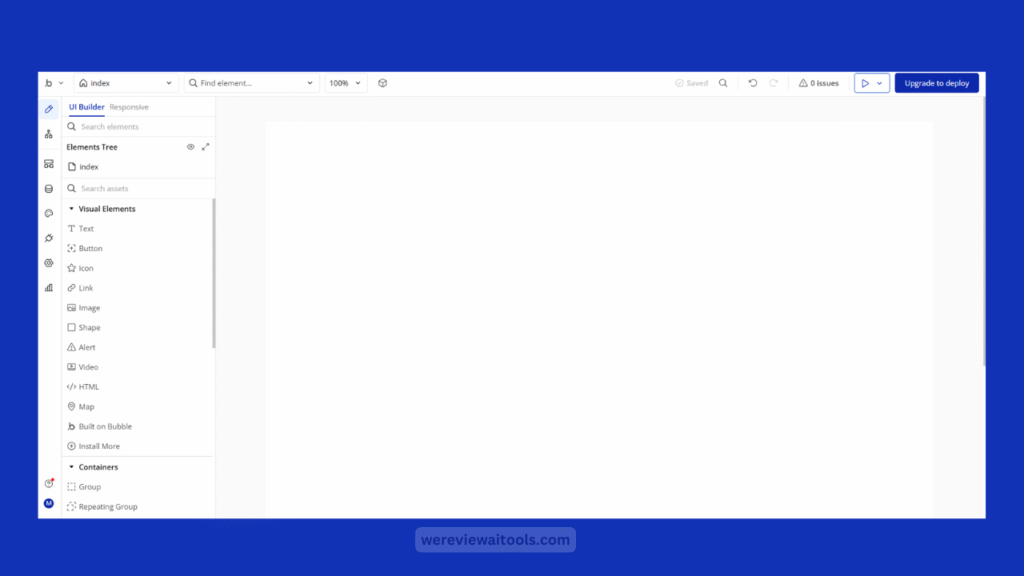
The Bubble editor is the place where everything happens. It has several parts:
- In the Design Tab, you can start dragging and dropping text, buttons, inputs, images, etc. onto your page.
- Workflow Tab :This is about what needs to happen when a user clicks on a button or submits a form. It’s like telling the app do this if that happens.
- Manage the database: This belongs to Data Tab. You can add different types of data such as “Users”, “Posts” or “Products” and add fields to them.
- Plugins: Install plugins to extend functionality; add additional features to your site, such as payment gateways, Google Maps, or an email service.
- Settings Tab: Configure your app name, SEO settings, custom domain and other options.
Explore each tab and try some things out!
Step 4: Design Your First Page
Click on Design tab and begin to place elements onto page. So to illustrate, if you are creating a sign-up form, you can drag:
- An input field for email
- Additional input field for specifying password
- A sign-up button
I can change the look of each element on the right using the property editor. You have control over font, colors, size, borders, etc.
Step 5: Create a Workflow
Your design is done, now you want to write some logic. Click on the “Workflow” tab.
Click the button that you want will created a new user if they sign-up, then press Start/Edit Workflow.
Then Bubble will prompt you for the action you want to perform. You can select “Sign the user up” and then configure the input fields for the signup form (email and password).
This is how you will do it without writing any code and add logic to your app.
Step 6: Set Up a Database
Click on the Data tab to save and process your app data. Bubble comes with the default data type of “User”. Depending on your application, you can define additional types.
For example, if you are building a to-do app then make a new type called Task. Add fields like:
- Title (text)
- Description (text)
- Is Completed (yes/no)
After your database is ready you can link forms and workflows to store data here.
Step 7: Preview Your App
You can click on the Preview button in the top right corner at any point. It opens your app in a new tab, and demonstration of the app is there as well.
Attempt to register as a new user, fill out a form, or click some buttons. This allows you to test your app and refine it, prior to the launch.
Step 8: Publish Your App
Afterward, you can go live, as long as you are satisfied with everything. Click on the top right corner on Deploy to live.
When using the free plan, your app gets hosted on a Bubble subdomain in the format of yourappname.bubble.io bubble apps You can also upgrade to paid plans for a personalized domain..
Step 9: Add Plugins and APIs (Optional)
For additional functionality, such as Stripe payments or sending emails, you can add plugins to your app. Simply navigate to your “Plugins” section and enter what you require in the search box.
Using the API connector also allows you to connect APIs. With Bubble, you can fetch weather data or integrate WhatsApp API, as an example.
Getting Started with Bubble’s AI Features
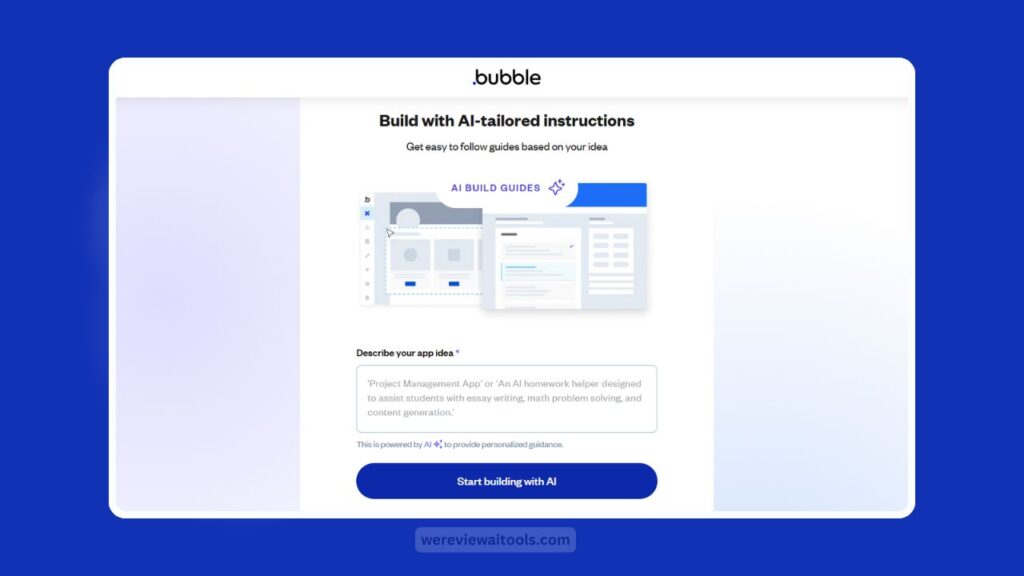
- ACCOUNT SIGN UP: For this bubble tutorial, make a free account on bubble. io.
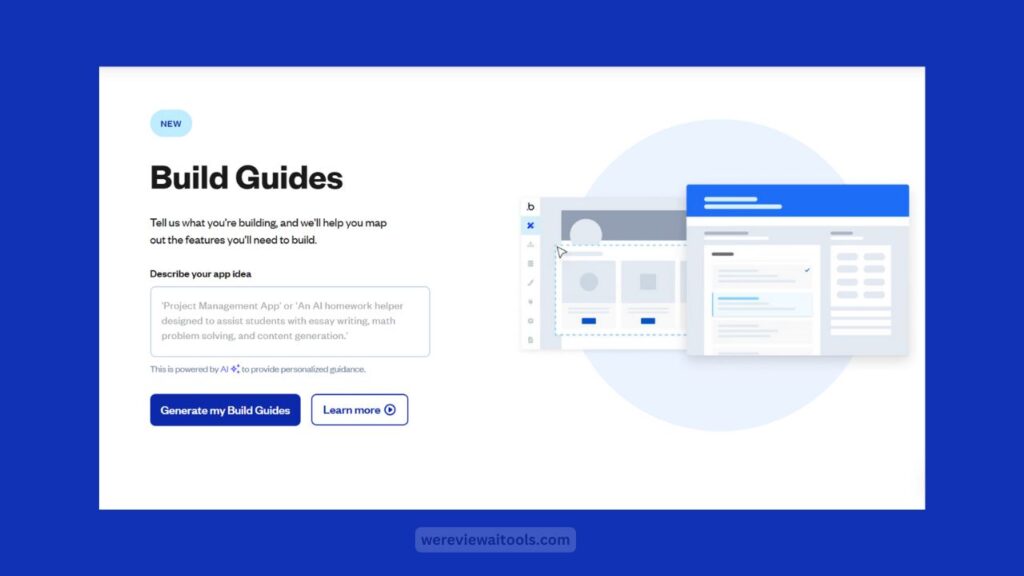
- Describe your Idea: Let AI App Generator know your app idea.
- Personalize: Use the AI Page Designer and Build Guides to customize your app.
- Get Help: Please ask for help if they need more information please analyze by engaging AI Help Bot.
- Grow: Add more AI features as needed.
Learn To Use Bubble AI
- If you find yourself stuck use the bubble academy tutorials.
- Aim to implement small and minimalist features in the early stages, such as login/signup.
- At the beginning, do not stress about doing it right. You can always iterate on your app later.
- Be simple with the app interface, if this is an app for your first client or your own startup.
Conclusion
Bubble. io gives you the full power to build your web apps without writing a single line of code. Bubble AI is a simple Visual editor, whether you want to launch a startup, build a simple project for yourself, or want to build something for your client, Bubble enables you to do all of that.
The best part? No need to hire a developer or learn complex programming. All you need to do is drag, drop and connect your logic and presto!
Just one foot in front of the other, and you will be surprised how quickly you can create something beautiful.